Beautiful Mondays: DIY – Pass a Note

I don’t know how you spent your hours during high school, but me and one of my best friends spent most of our hours passing notes. There always was something of utter importance to say that could not wait till the end of the period. Usually our notes included our weekly crushes, whom we had the perfect code names for. Silly but memorable times.

Now, each living on different continents, we still spend our time passing notes. It now takes a bit longer for our notes to get to each other, but the tradition of writing important news to each other has remained. Our weekly crushes have been replace by stories about our husbands and our dramatic high school issues have been replaced with sharing the reality of our lives.

Passing Notes

Sending someone a card or letter was very common years ago. Now with internet and whatsapp, taking the time to send someone a handwritten letter or a postcard seems unnecessary and old-fashioned. But there is a lot of joy in finding a card in your actual mailbox instead of your email. Someone taking the time to write down what is going on in their lives and encouraging is a treat.

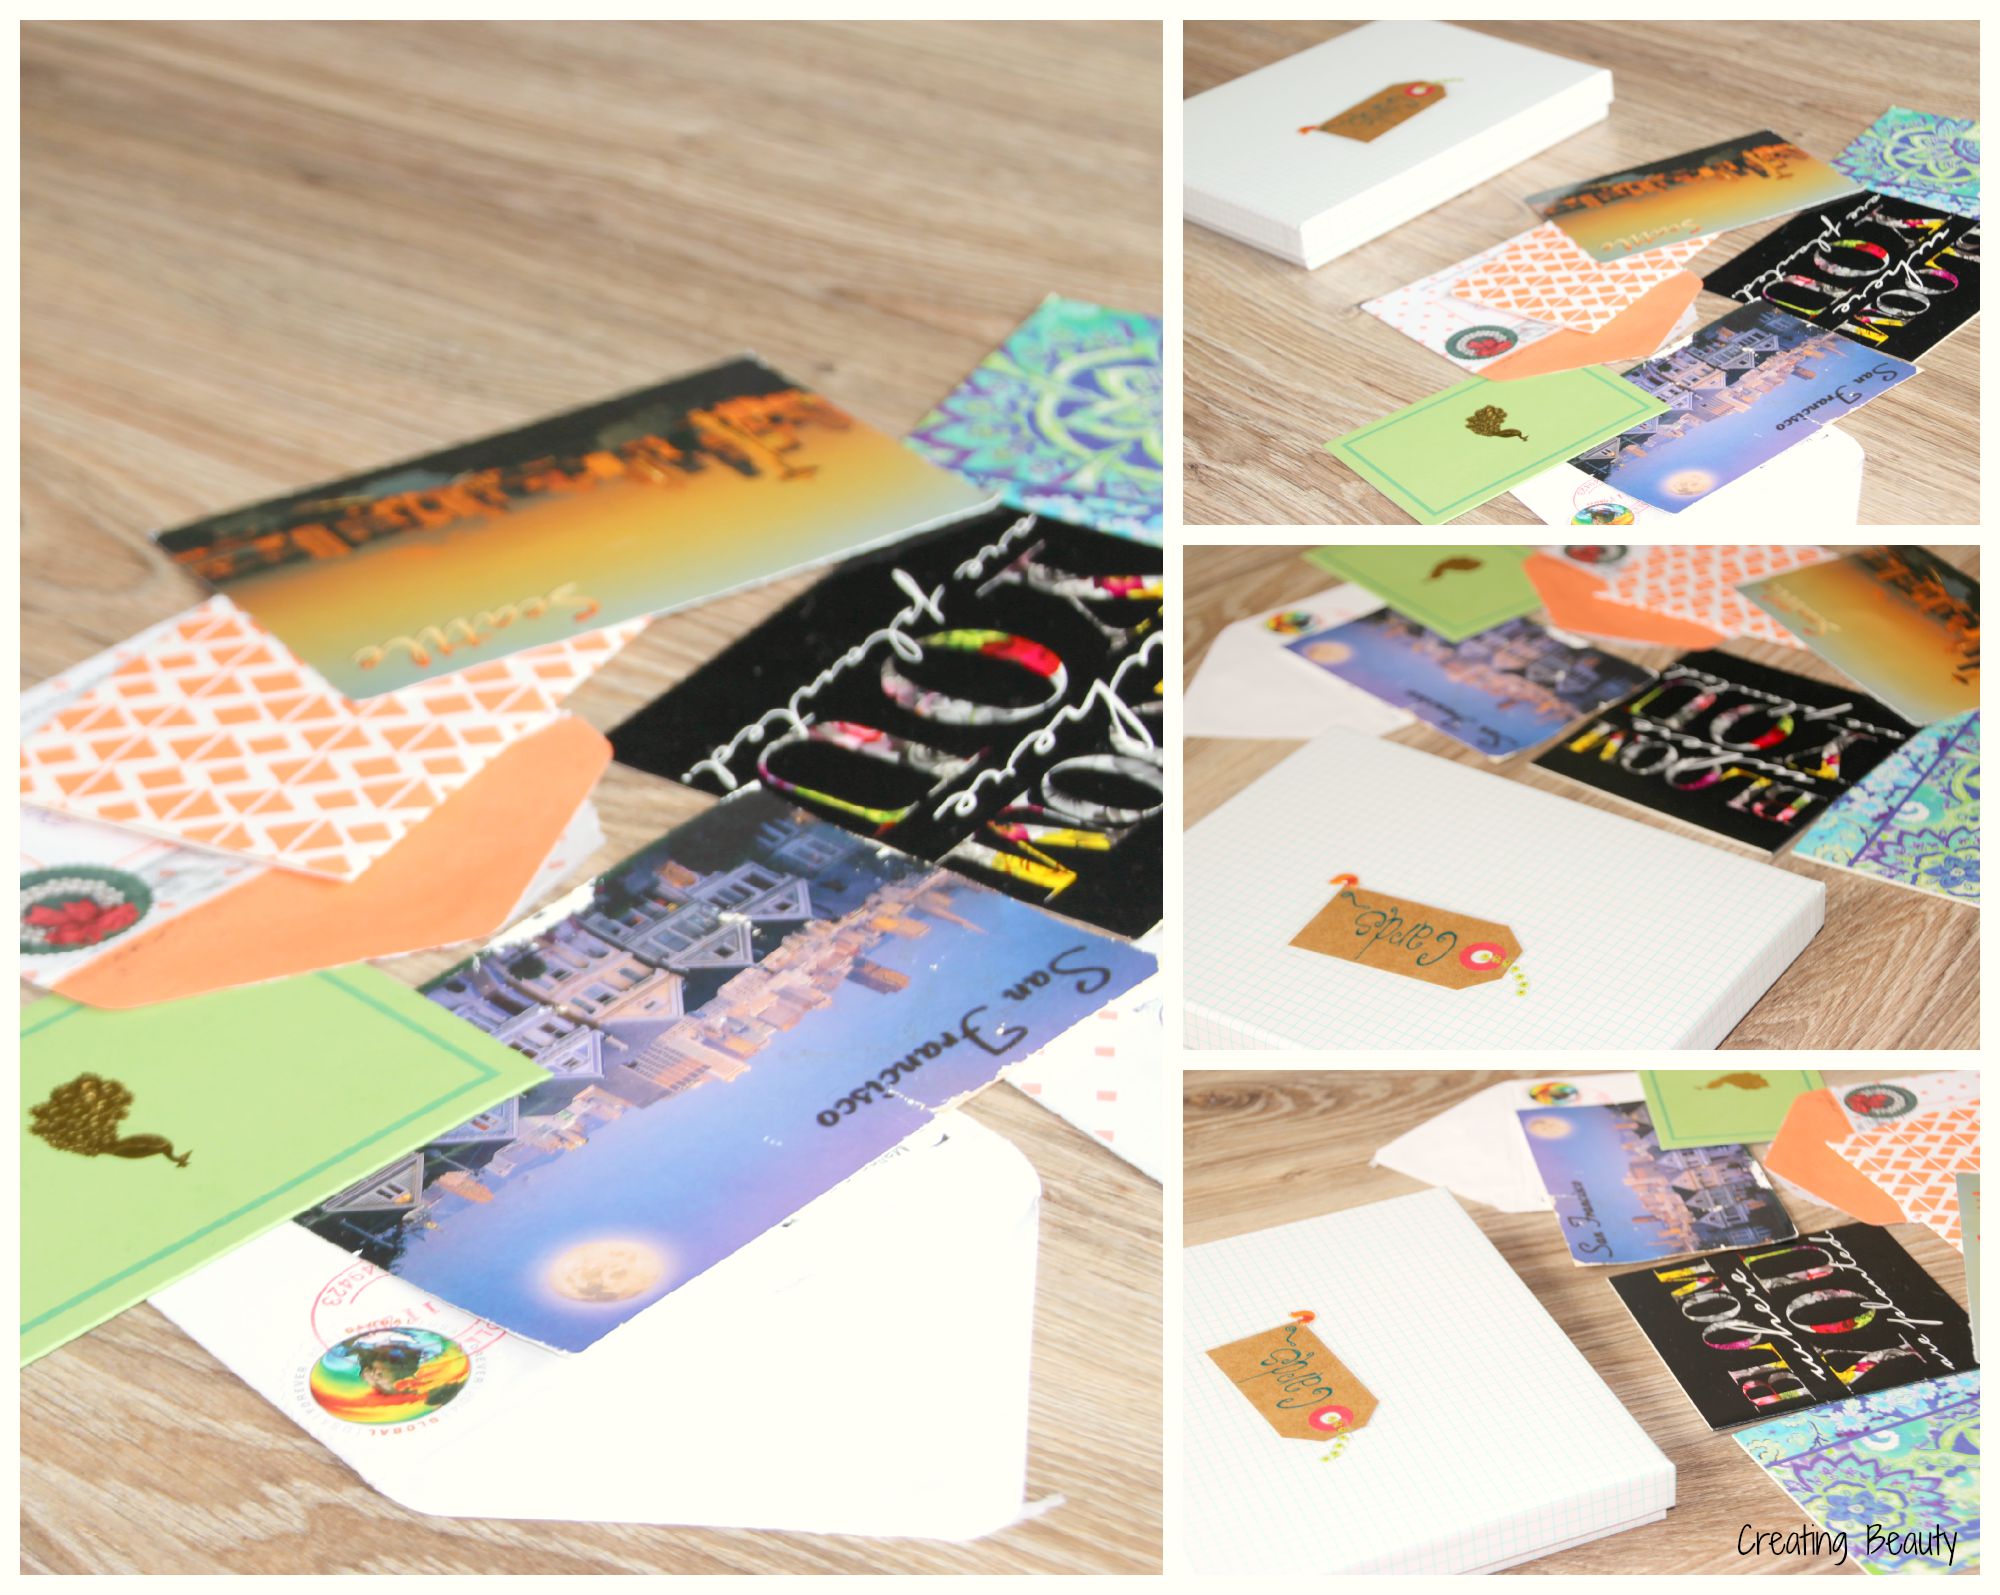
Today I want to encourage you to do this yourself. I guess I have a little DIY for you after all. Write someone a letter. Or if you really want to put some effort into it, you can make someone a card like I did!

DIY Postcard

Don’t forget to send it to them. Go to the post office, by a stamp and mail it. It will definitely surprise someone and put a smile on their face.

Have a beautiful Monday!

❤ Nan

Beautiful Mondays: Made to Shine

DIY Picture Display
Being a mother gives me bitter-sweet feelings. I love having children, watching them develop and learn. I enjoy their innocence and interest in the world around them. Yet often, I am filled with a fear. A fear that I won’t always be able to protect them from the dangers and temptations of this world. A fear that in the process of growing up, I will lose them somehow. When that fear starts creeping up, it can, at times, consume me. I reach a point that all I want to do is move ourselves to an island where it’s just my little family. Where I can protect and care for them. But then the ‘sweet’ part of motherhood kicks in when I see my son not only exploring but mostly enjoying the little things around him. One of his biggest joys right now is being able to play on his dad’s drums. He gets this proud and satifying look on his face, like he has found his right place and purpose.

We took a picture of that a couple of weeks ago. I had to print it out and scrapbook it into something I could place in our home. Looking at this picture, I am reminded that we were made to shine. Each of us has something that lights up a fire in us, that makes us shine on the inside and on the outside. When we find what that is, big or small, and start investing in that, I believe we will become a lot more relaxed. We will be at ease because we have found our right place and our purpose: to be the light and to shine.

Home Decor Shine
I have to be reminded of this daily, which is why I decided to write it down and display it in our home.

On this Monday, be the beautiful you and shine. And do this stretching warm-up to start your week off well and help you shine!

It made me feel more ready for this week!

“This little light of mine, I’m gonna let it shine.”

Have a beautiful Monday!

❤ Nan

DIY: Picture displays

For those of you looking for a new and different way to display your pictures throughout your house, I have an easy “Do It Yourself”. Yesterday I was in a creative mood and I really like the results I got.

Both are very easy to make and not many supplies are needed.

A photo display

For this first one, all you need is some scrapbooking paper, washi tape, scissors, a sharpie (or any kind of pen or marker), dubble sides tape (or glue) and some fun stickers, cut-outs or vellum shapes. Then the rest is up to you! Start experimenting different positions for your picture and stickers/vellum shapes till you have created your own beautiful masterpiece! The Maggie Holmes collection actually inspired me to do this. She makes some beautiful supplies for creative people. You should take a look at het blog!

This second DIY is one I have wanted to do for a while, but hadn’t made time for yet. This one is my husband’s favorite and I must say I am pretty proud of it.
Picture in a Jar
For this project, you will basically need the same supplies as in the one above. Except this one also requires a jar and some ribbon. What I did was glue some scrapbooking paper to both sides of the picture. With a slick writer (the perfect pen to write on washi tape and other “slick” surfaces) I wrote love on the picture. I then placed that in a jar. I added a cute ribbon that has words on it. And I added brown string. I sewed two vellum shapes onto the string. And that was it!

I hope you will feel inspired to make some beautiful photo displaying decor for around your home.

Have a lovely weekend.

❤ Nan